Welcome to the world of hip mobility, a game-changer for your body’s movement!
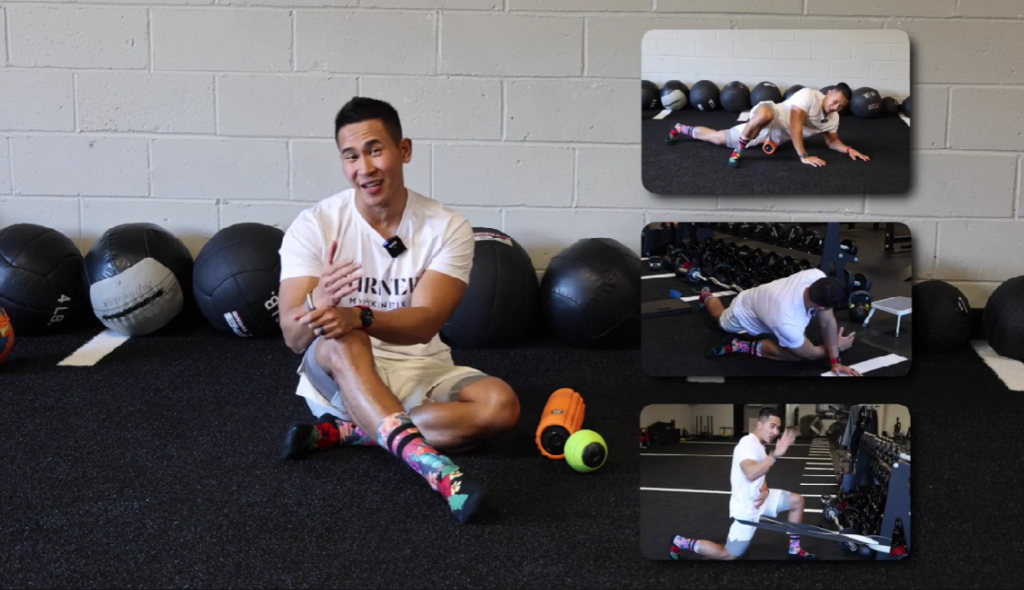
If you’ve ever felt tightness during workouts or a pinch in your hips, we’ve got you covered with five fantastic exercises. Say goodbye to discomfort and welcome greater flexibility into your life by adding these moves to your routine. Whether you’re a gym pro or just want relief from daily discomfort, join us on this exciting journey to unlock the secrets of hip mobility. These exercises will have you moving with ease, making your fitness experience smoother and more enjoyable. Get ready for happier hips!
Foam Rolling Techniques
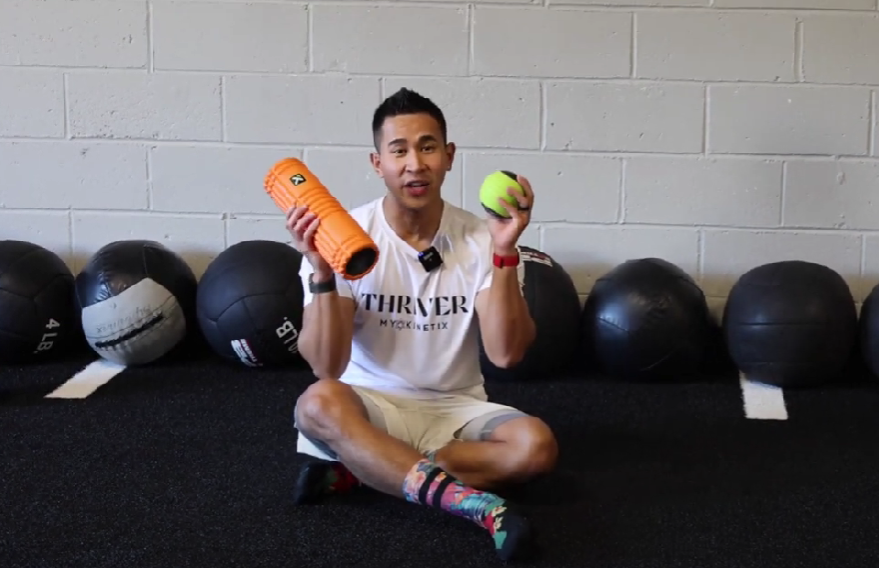
Let’s start with foam rolling techniques. This is a game-changer for enhancing hip mobility, and here’s a step-by-step guide to nail this technique. Start by acquiring a foam roller or a vibrating ball – these are excellent choices as they simultaneously warm up your tissues as you roll. The key here is to address the multitude of muscles surrounding the hips, some of which might be tight and restricting your range of motion. Follow these 3 easy steps.
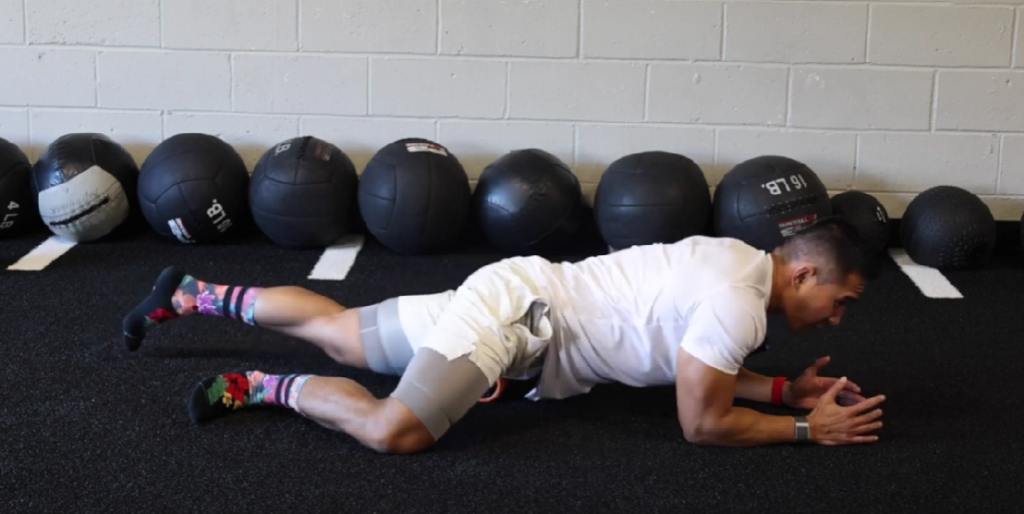
Set Up Your Position: Step 1
- Lie face down on the floor.
- Place a foam roller or ball under your hip, targeting the outer hip area and the top of your thigh (quad).
- Support your upper body with forearms on the ground and stretch your legs out behind you.
Find Tender Spots: Step 2
- Gently move your body up and down, letting the foam roller or ball roll along the top of your quad and outer hip.
- Pay attention to any sore or tight spots. Stop and focus on those areas.
Apply Pressure and Rock: Step 3
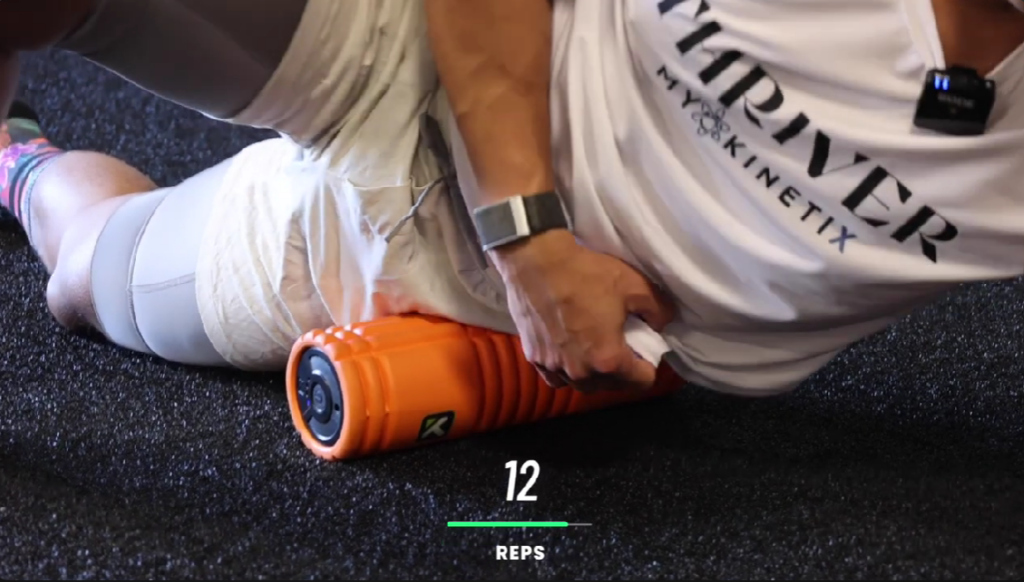
- Once you find a tender spot, hold your position and apply gentle pressure. Adjust the pressure by supporting more or less of your body weight.
- Rock your body back and forth over the tender spot.
- Repeat this rocking motion for 10 to 15 times or until you feel tension release.
- Remember to breathe deeply and relax during the exercise.
Bonus Tips
- Some discomfort is normal, but avoid sharp pain. If it hurts too much, lessen the pressure or stop.
- Make this routine part of your warm-up before a workout to improve flexibility and reduce muscle discomfort.
- Gradually increase the time and intensity as your muscles adapt.
Incorporating this foam rolling routine into your warm-up can help you have a smoother and more effective workout, especially for activities like squatting.
Addressing Hip Flexors and Quads
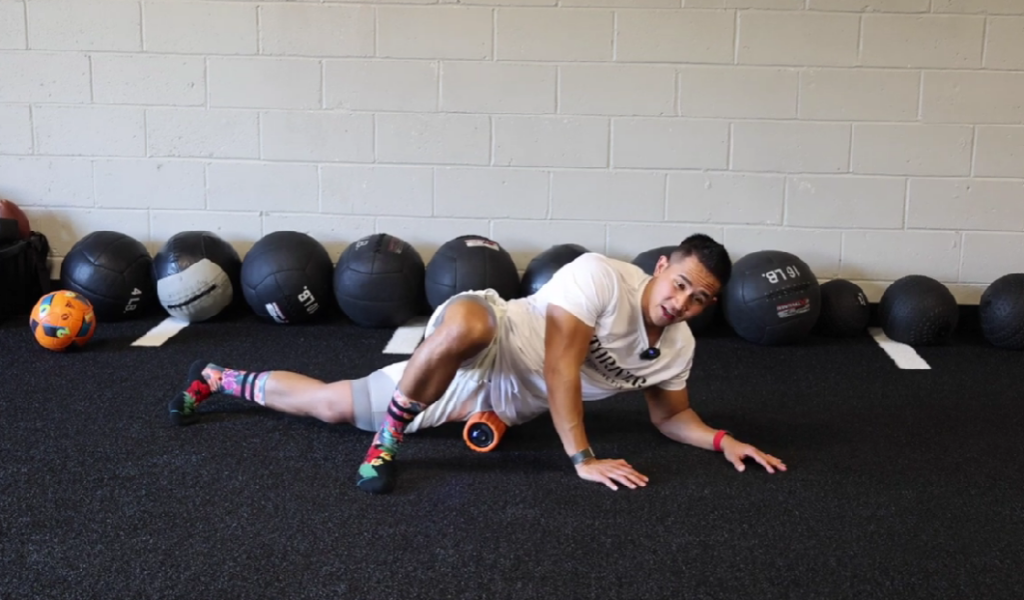
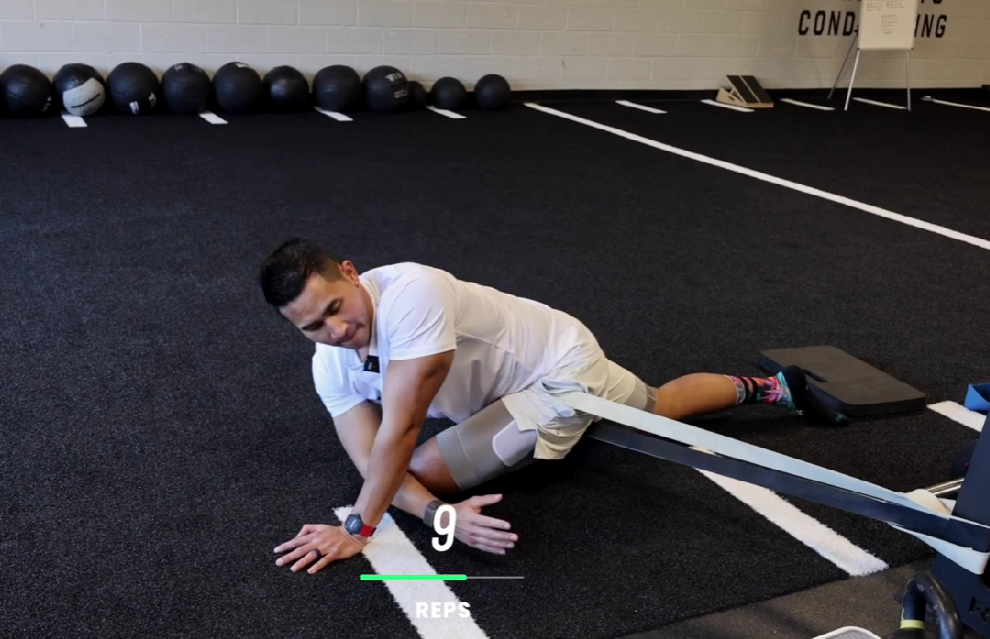
This next exercise is designed to relieve tension in the front of your hips by targeting the hip flexor and the top of the quad. It’s especially useful for people who spend a lot of time sitting, as it counteracts the shortening of the hip flexors, which can lead to tightness and discomfort. The steps are simple, involving a smooth transition from the hip flexor to the quad using a “little army crawl” technique. Follow these easy steps.
- Roll Forward and Set Up: Start by rolling onto a foam roller or ball, targeting your hip flexor and the top of your quad. Get into position by placing your elbows on the ground, creating a stable “army crawl” stance.
- Smooth Movement with Support: Use one leg to assist in the movement. Roll smoothly up and down in front of your hips, gently rocking for 10 to 15 repetitions. Focus on areas that feel tender or tight during the rocking motion.
- Gradual “Army Crawl” Upward: This routine is particularly helpful for those who spend a lot of time sitting. Gradually move upward, continuing the “army crawl” to target your quads. Roll up and down in front of your hips for 10 to 15 repetitions to release tension effectively.
By following these simple steps, you not only enhance flexibility but also alleviate knee pain associated with tight quads and hip flexors.
Working on Glutes and Piriformis.
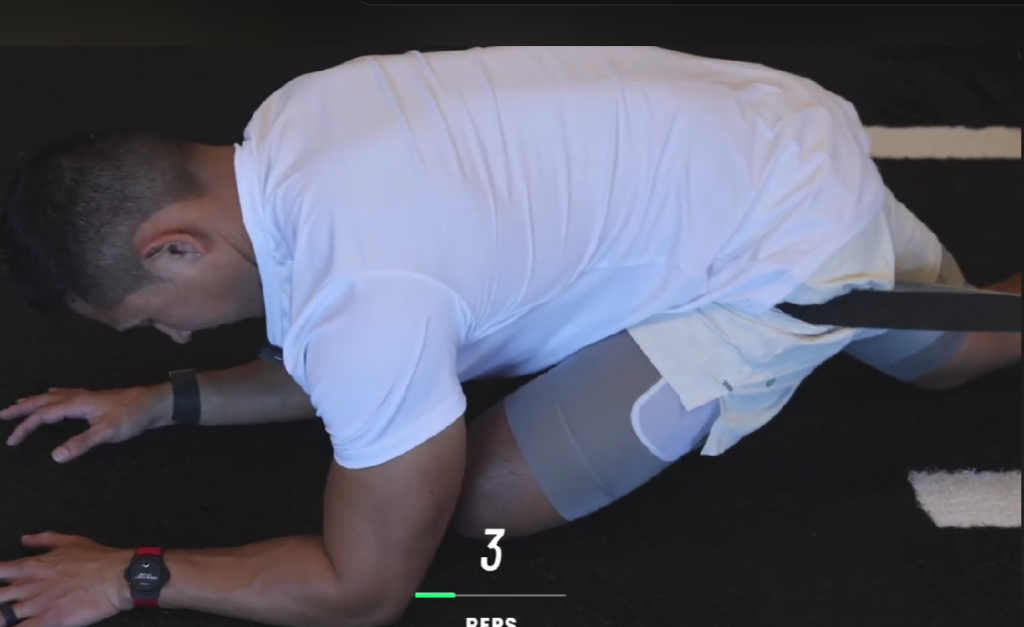
This exercise focuses on working the glutes and piriformis, essential for improving hip flexibility and range of motion. Using a ball, you can effectively warm up these muscles while targeting the back of the hips, including the glute medius, glute maximus, and the external rotators of the hips. By addressing these areas, you can enhance your overall hip mobility.
Follow this guide:
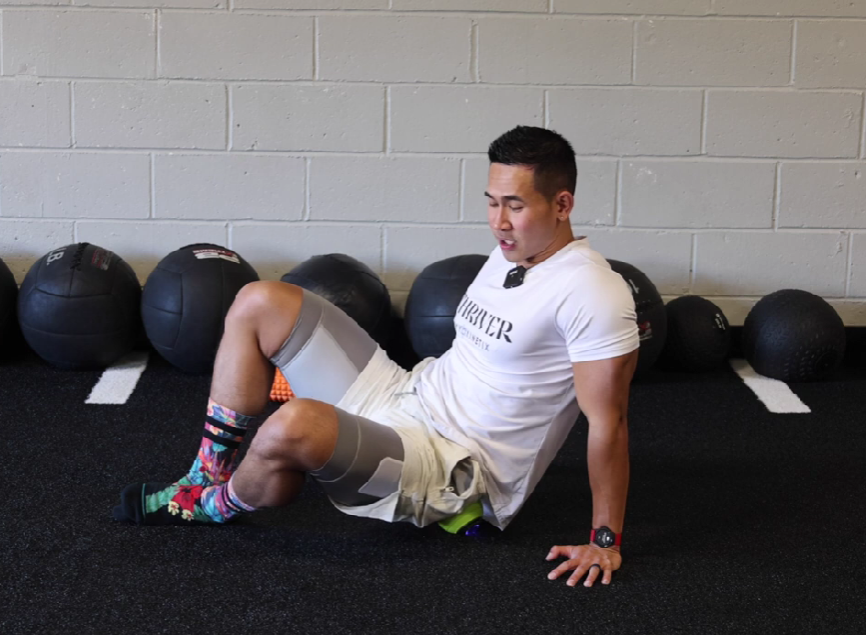
- Outer Hip (Glute Medius): Place the ball on the outside of your hip, near your back pocket. Shift your weight onto the ball and use your hands for support. Slowly move side to side until you find a tender spot. Hold the position and drop your left knee to the ground, releasing tension. Do 15 reps on each side.
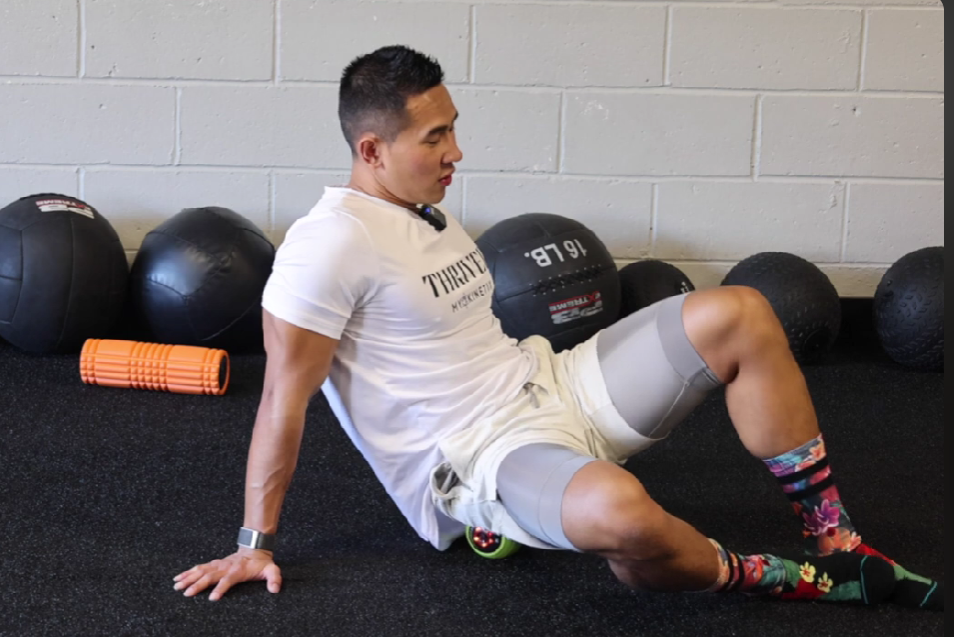
- Inner Hip (Deeper Glute Muscles): Gradually move the ball inward to a deeper spot, using your arms for support if needed. Repeat the rocking motion up and down for 10 to 15 repetitions. For a more advanced option, lift one leg to expose the hips further. Hold for 10 to 30 seconds.
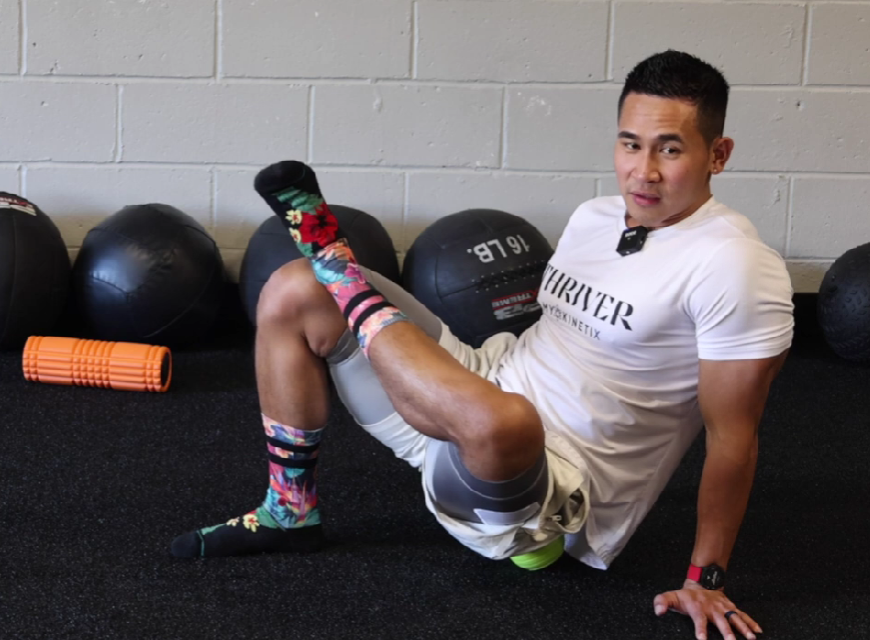
- Cross-Legged (Advanced): For an advanced stretch, cross one leg over the other while still using the ball. Move up and down to target the deep hip external and internal rotators. Repeat the process on both sides, focusing on the front and back of the hips. This comprehensive routine helps release tension in various hip muscles, promoting flexibility and comfort.
Banded Mobilization for Hip Joints
To optimize hip joint mobility and promote a pain-free squat, you will need to engage in banded mobilization exercises. These movements aim to enhance flexibility and range of motion in the hip joints, particularly beneficial for individuals who spend extended periods sitting. Using a resistance band, you can perform three key stretches. Follow this guide:
- Modified Pigeon Stretch (45° Angle):
- Place the band close to your groin area.
- Move into a modified pigeon stretch, ensuring the band is at a 45° angle, pulling the hips backward.
- Relax into the stretch, shifting your weight with the band’s assistance.
- Rotate and reach while maintaining relaxation for 10 to 15 repetitions.
- Hip Joint Mobilization (Ball and Socket Movement):
- Bring the band towards the hip, initiating a backward pull.
- Return to the pigeon pose, letting the band pull the hip directly back.
- Lay down and shift your hips back and forth, feeling the stretch.
- Repeat this movement 10 times, adjusting the band if necessary.
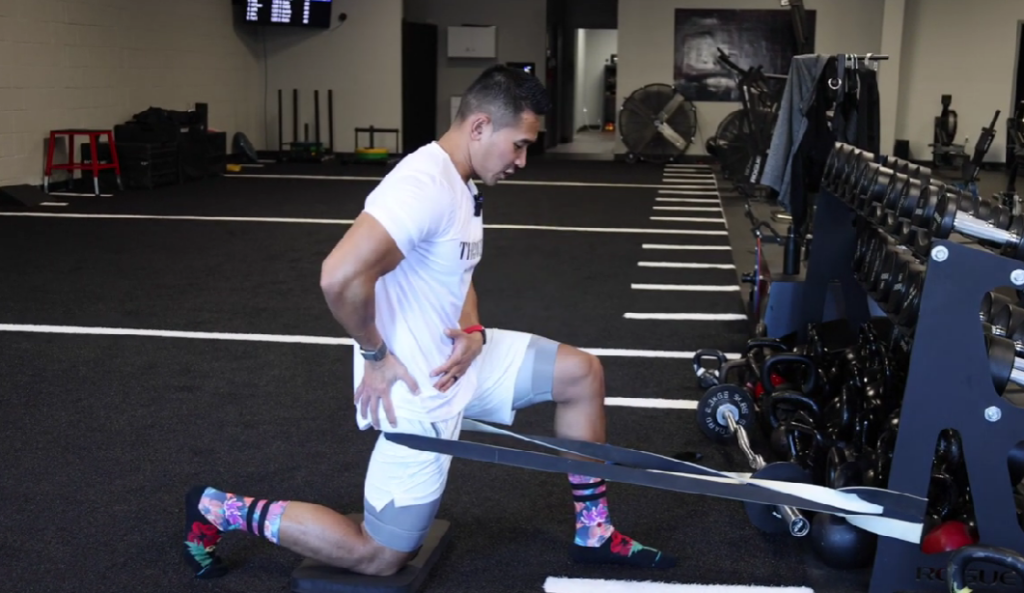
- Hip Flexor Mobilization (Front of the Hips):
- Place the band under your buttocks and kneel with a pad behind you.
- Let the band pull your hips forward, opening up the front of the hips.
- Keep your core tight and lower back flat, resisting the urge to arch.
- Hold the stretch for 10 seconds, return, and repeat 5 to 10 times.
- For advanced stretch, add a gentle rotation while maintaining core stability.
Performing these banded mobilization exercises helps create space in the hip joints, promoting smoother and more pain-free squats. The stretches can be particularly relieving after prolonged periods of sitting.
Advanced Hip Activation Exercises
Now that we’ve done foam rolling and hip mobilization, let’s move on to advanced hip activation exercises for better strength and stability. We’ll focus on the B walk, a popular move you’ve probably seen on social media. The key is to engage your hips properly, avoiding strain on your back. This exercise not only activates your hip muscles but also helps with proper hip loading and positioning. It’s great for athletes and those into sports with lots of twisting movements, as it improves hip mobility and stability.
Banded Walk for Hip Activation
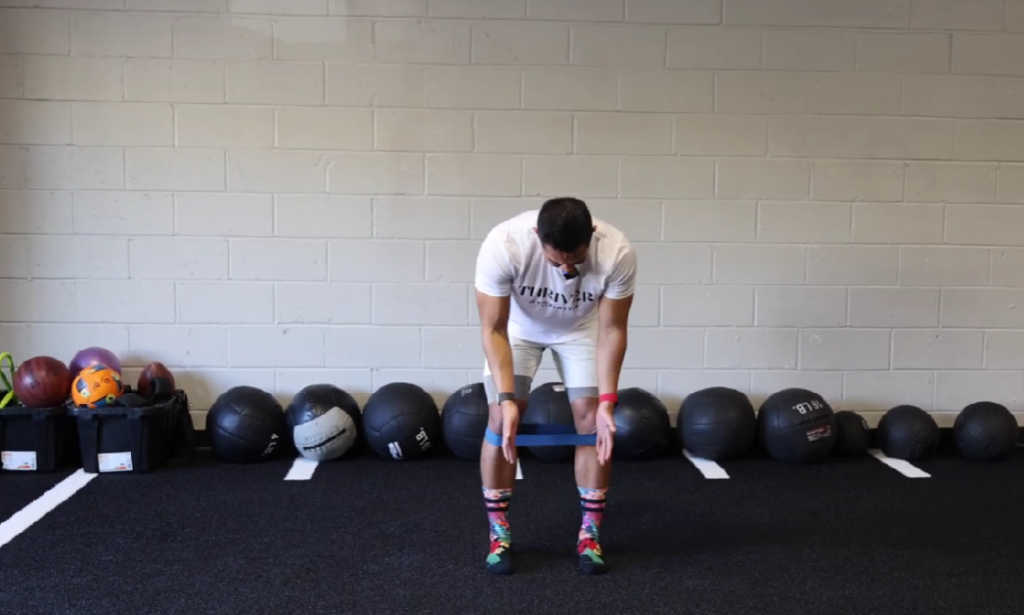
- Place the resistance band above or below the knees, with lower placement increasing difficulty.
- Load the hips by sticking your butt back, creating tension in the hamstrings and hips.
- Ensure the band does not pull your knees inward; keep the knees over the second or third toe.
- Push against the band, focusing on a pushing motion rather than reaching.
- Maintain a neutral position, lower the hips, and push in different directions (e.g., left and right) for 8 to 15 reps.
Fire Hydrant (Advanced Hip Activation)
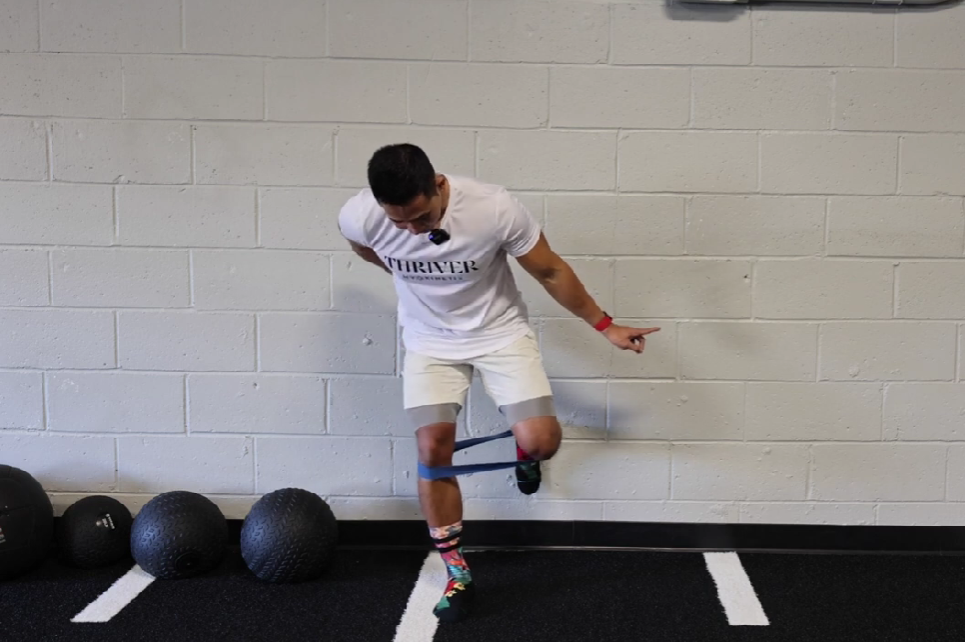
- Stand against a wall for balance, keeping the band either at thigh or ankle level.
- Shift your weight to one leg, loading the hips and ensuring your knee stays aligned with the toe.
- Resist the band’s pull as you lift the leg outward, feeling the muscles working.
- Slowly bring the leg back in, maintaining control and resisting the band’s pull.
- Perform 8 to 15 reps, focusing on a slow and controlled tempo, emphasizing resistance against the band.
These advanced hip activation exercises offer an effective way to strengthen and stabilize your hips, suitable for diverse athletic activities and overall hip health. These exercises will unlock better hip flexibility and comfort. Whether you’re gearing up for squats or deadlifts, these exercises aim to alleviate pinching, cramping, and discomfort, providing a confident range of motion. Consistency is key—stick to these routines, listen to your body, and adjust as needed for future workouts with liberated and mobile hips.
If you have health concerns or existing injuries, Myokinetix is here to help. Our experienced healthcare professionals specialize in guiding your recovery, eliminating restrictions, and enhancing mobility for an active lifestyle. Consult with our healthcare professional and fitness expert today. Book a call to discover how we can assist you in reaching your peak performance.